If you dual (or triple, or more) boot your machine, i.e. you have many different operating systems you choose between at startup, you might have to use your bootloader fairly frequently.
GRUB is a very functional boot loader and can do the job in most cases. But its default text-based view is a little visually unattractive, is it not?
In this tutorial, I'll show you how to put together a custom image which will be the background for the boot menu - so your multi-boot system can be a little more stylish.
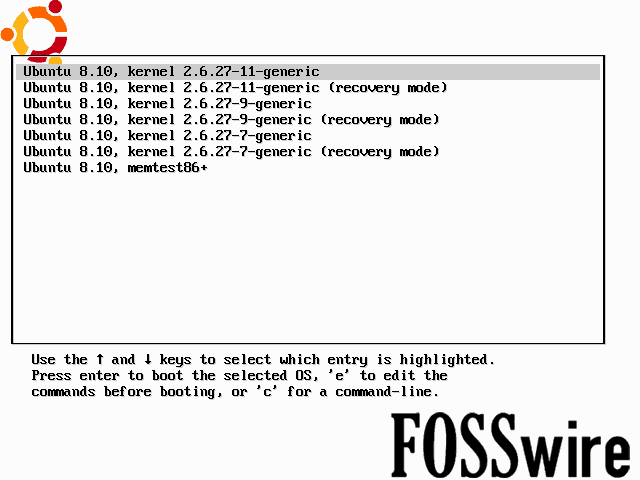
I'll assume the primary operating system where GRUB was installed from is Ubuntu (8.10) for the purposes of this tutorial, but instructions should follow for most Unix-like operating systems. We will be using GIMP to convert the background image.
Getting Creative (Within Constraints)
The GRUB background needs to be an image of exactly 640×480 pixels to begin with. In addition, due to the limited environment in which GRUB runs, the image needs to be fairly simple, particularly with respect to the number of colours it uses.
We need to mix the final file down to an image containing just 14 different colours, so this may affect what kind of design you'd like for your background image. You'll also want to it bear in mind the colours available for the actual GRUB text are also quite limited, along with the fact that the middle of the picture will be taken up by the menu.
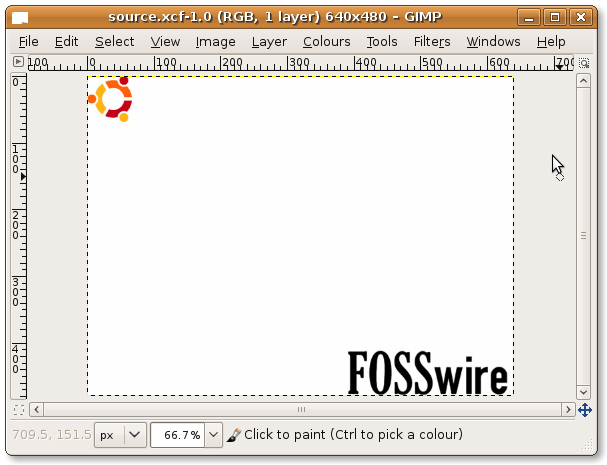
Once you've got your design done, I recommend you save it in GIMP's native XCF format, in case you want to make edits later.
Save As and Change to Indexed
Now, use Save As and make a new copy of the image called splash.xpm. Entering this file extension will automatically tell GIMP to save in the X Pixmap Format, which GRUB requires.
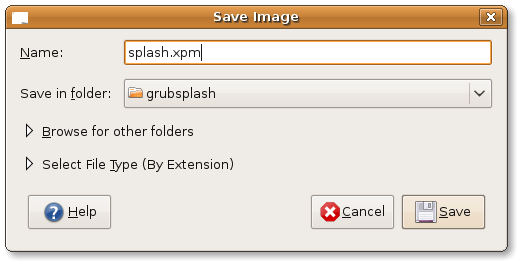
Once you've make this new copy in XPM format, we now need to mix this image down to just the 14 colours that GRUB will let us use.
Go to Image > Mode > Indexed. In this dialogue, choose Generate optimum palette and set the number of colours to 14. Now click Convert.
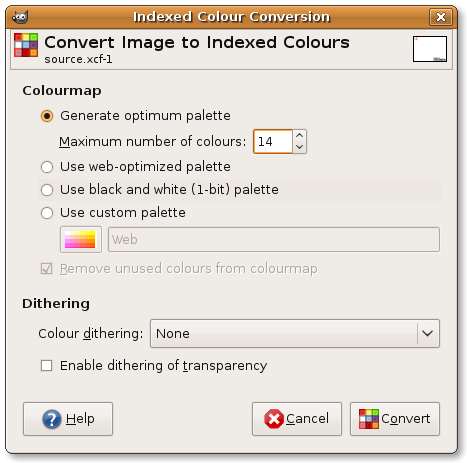
You will now notice how much your image is affected by this palette change. This is how the image will look in GRUB.
Once you're happy, save the file (keeping it in the XPM format).
Copy to GRUB Folder
Now our image is ready, we need to copy it to the GRUB folder and instruct GRUB to use it as a splash image.
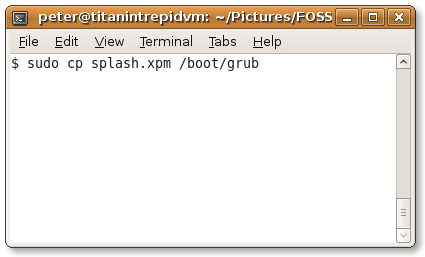
You'll likely need root privileges to copy the splash image to the right place, so we'll perform this step from Terminal.
$ sudo cp /wherever/it/is/splash.xpm /boot/grub/splash.xpm
Edit the GRUB Config File
Before we proceed with this final step, be careful. Don't go messing with things in the GRUB configuration file, or you could end up having problems booting your machine. You have been warned.
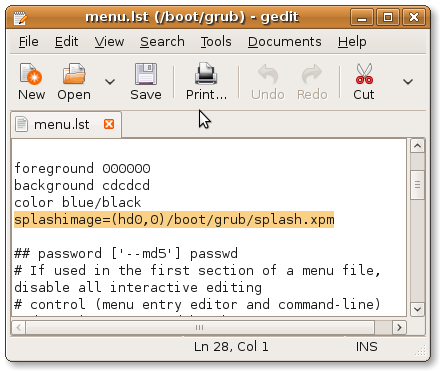
You'll need to open up the file /boot/grub/menu.lst in your favourite text editor, with root privileges. For example:
$ sudo gedit /boot/grub/menu.lst
Simply add the following line somewhere near the top and save the file:
splashimage=(hd0,0)/boot/grub/splash.xpm
Note - this assumes that the primary OS where the GRUB bootloader was installed from is on the first physical hard drive, on the first partition. If your setup is different, you may need to use different numbers. For example, the second physical disk and third partition would be (hd1,2).
Once you've saved and rebooted, you should see your new boot screen!
You may also want to play around with the colours of the menu text to fit in with your new theme.