It's back to basics for this hybrid printable guide and standard FOSSwire post, detailing how to set up a dual boot installation with Ubuntu 8.04 co-existing alongside Windows Vista or XP.
Click here to download a fully printable PDF with all the screenshots, or just keep reading below!
You can also grab the source OpenDocument Text, for translations and derivative works.
Introduction

So, you've heard a bit about this Linux thing and you're interested enough to give it a try. The problem is, installing a Linux distribution can be difficult and you're not ready to give up Windows just yet.
Dual booting is the process of installing two operating systems alongside each other. When your computer starts up, you can choose which operating system you want to start for that session. To switch, you just reboot the machine and select the other option.
In this extended guide, I am going to walk you through the process of installing Ubuntu Hardy Heron (8.04) alongside Windows Vista or Windows XP.
Assumptions
For the purposes of this guide, I'm going to assume the following about your system:
- You have a PC currently running either Windows Vista or Windows XP.
- Windows is installed in a single-partition layout on a single disk (just one hard drive in Computer, labelled C).
- You have downloaded Ubuntu 8.04's Desktop CD, and have burned it to a blank CD.
- Your PC is configured to boot from a CD.
- You have at least 8 GB or so of free space on your C drive.
Preparation
While it might be possible to get started straight away, it's usually sensible to spent a little time setting things up first.
Backup
The process of dual booting with Ubuntu is pretty safe. I have personally done this many times with no ill effects.
However, any major operation you do on your computer is subject to the risk of things going wrong. Before you install Ubuntu, you should make a full backup of anything you don't want to lose and have a strategy for putting things right if things do go awry.
Storage is cheap.
Once you have a copy of all the data you care about (and I mean all of it), we can move on. Also, make sure you fully know and understand how you would go about doing a restore should the worst happen.
Preparation within Windows
Boot your computer into Windows and go into Computer (My Computer under XP). Right-click on your C drive and choose Properties. Click on the Tools tab.
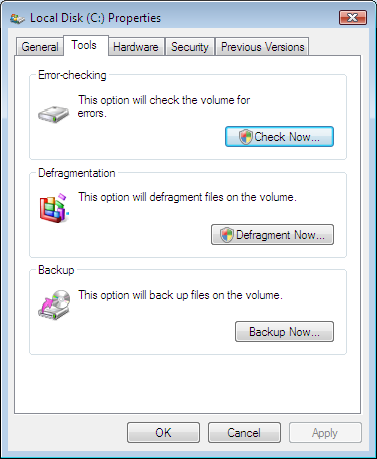
There are two things we are interested in here - the Error-checking and Defragmentation sections.
Error-checking
First of all, let's do the error-checking. Performing this step will make sure that your Windows disk is free from problems that might cause the Ubuntu installer issues.
Under the Error-checking header, click Check Now. Vista users will be asked to click Continue.
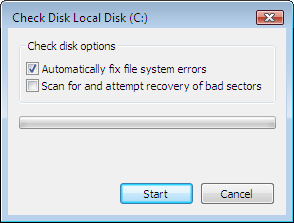
Now, make sure 'Automatically fix file system errors' is selected, and click Start. You'll get a message saying that the disk check cannot be run while Windows is using it.
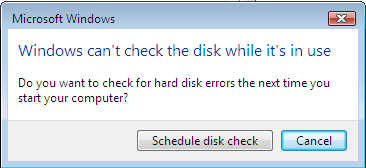
Choose the option to Schedule the check, and reboot the machine. As the machine comes back up, the disk will be checked and any errors fixed.
Defragmentation
Quick advance warning - this step is likely to take a lot of time. I won't go into technical details on what this entails and why it takes so long, you can read that at Wikipedia.
Head back to Computer, right-click again on the C drive and choose Properties. Now click the Tools tab; you should be back on the screen we were at earlier.

This time, choose Defragment Now.
A new window will open. In here, click Defragment Now (or just Defragment under Windows XP). As I've said, this step could take a long time - probably hours, especially if you've never defragged before.
[caption id="attachment_594" align="alignnone" width="500" caption="Disk Defragmenter under Windows Vista"]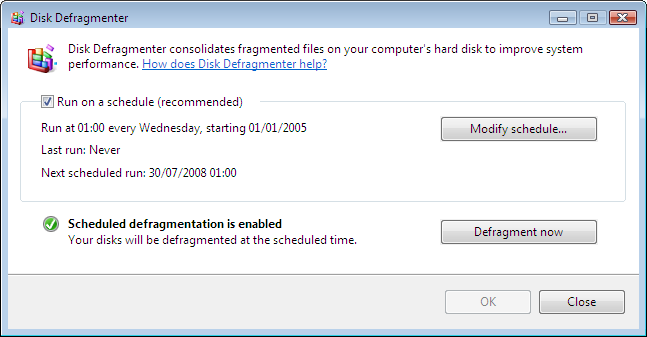 [/caption]
[caption id="attachment_595" align="alignnone" width="500" caption="Disk Defragmenter under Windows XP"]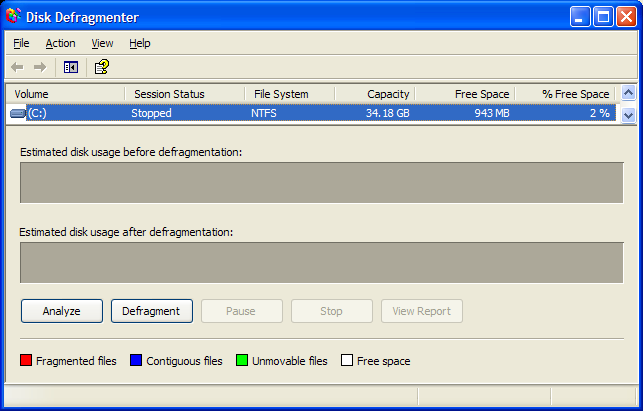 [/caption]
If you have enough free space on your hard drive, this step isn't strictly necessary, especially if you've recently done it or have literally just installed Windows afresh. Nevertheless, I'd recommend you go through with it.
Booting into Ubuntu
That's it for Windows now. We are now ready to get into Ubuntu and install.
Put the Ubuntu CD in your computer and restart it. When your computer comes back up, you should see a menu with a lot of languages - you'll want to pick the one you prefer for the install. Use the arrow keys and press Enter.
Then you will see this menu.
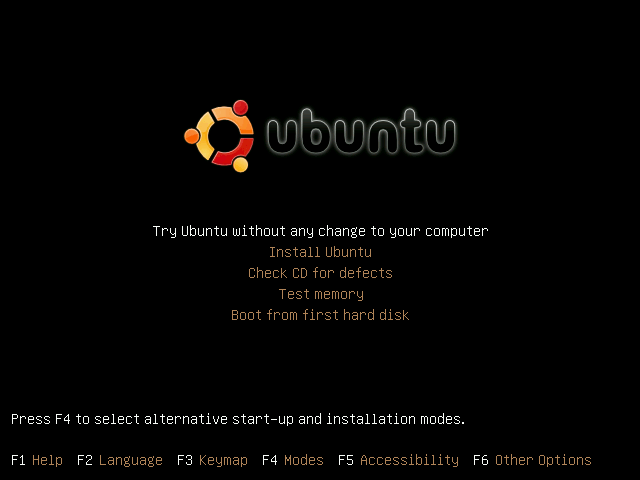
Use the arrow keys to scroll to Install Ubuntu and press Enter. Now you'll have to wait a while, as Ubuntu needs to load from the disc and show you the installer program.
Installation
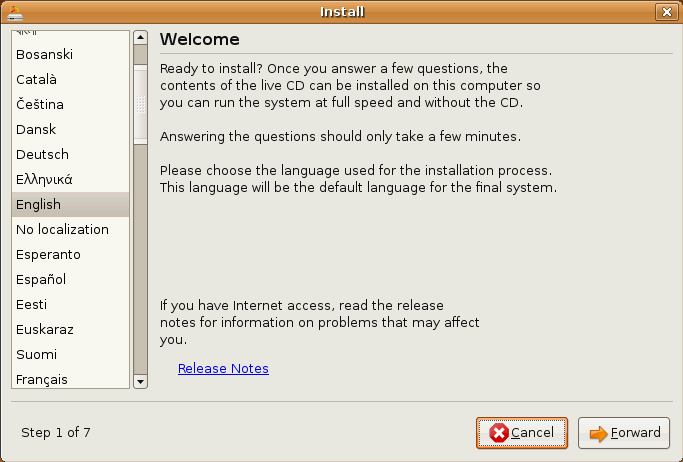
Welcome to the Ubuntu installer program. First of, you'll need to pick your language again to the left and click Forward.

Next, either use the map to click on a point close to you (this is to select the right time zone), or use the list box to select the closest city to you. Again, click Forward.

Now, the equally thrilling step of choosing a keyboard layout. You can use the text box to try typing any unique characters your keyboard may have (such as £ here on a UK keyboard) to make sure the correct keyboard layout is selected.
After a brief pause to start up the Partitioner, we return.

This stage of the installation is a little more critical. Make sure you choose the right option here, or it's possible that you could accidentally wipe out Windows.
Provided that your Windows installation has been detected successfully, the first option should start with something like 'Guided - resize'.
Choose this option. You can now drag the slider between the two sections below to choose how much space Windows will get, and how much Ubuntu will get.
Let me explain further. Windows and Ubuntu can't coexist in the same space on the same drive, due to the fact that they work completely differently. What we are doing here is resizing your Windows C drive, to make a separate space, or partition, for Ubuntu to exist on.
After you've selected how much to resize, you won't easily be able to change this or reclaim space back. Leave enough space so that you can do whatever you need to do with Windows, but also make sure there's enough space on the other side for Ubuntu. What you choose here, though, is up to you, and depends on how much you want to use Ubuntu vs Windows.
Once you've made your selection in terms of resizing, click Forward.
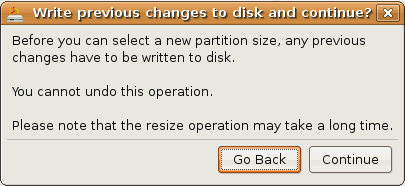
You will be given a warning about writing your changes to disk. Once you click Continue on that screen, your Windows C drive will be permanently resized and Ubuntu's partition will be set up.
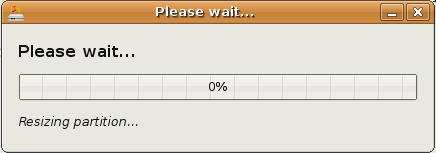
Relax now - the hard part is already done!

Now, you need to enter the details for your Ubuntu user. This page should be pretty self-explanatory, with fields for your real name, username to log in with, password and the name of the computer you're installing on. As always, click Forward.
The next stage allows you to import some of your information from Windows, if it can be extracted. Use the tickboxes to choose which user you want to import data from and the data to import.
Or, if you prefer, don't tick anything to start afresh, and keep your Windows stuff only in one place - Windows.
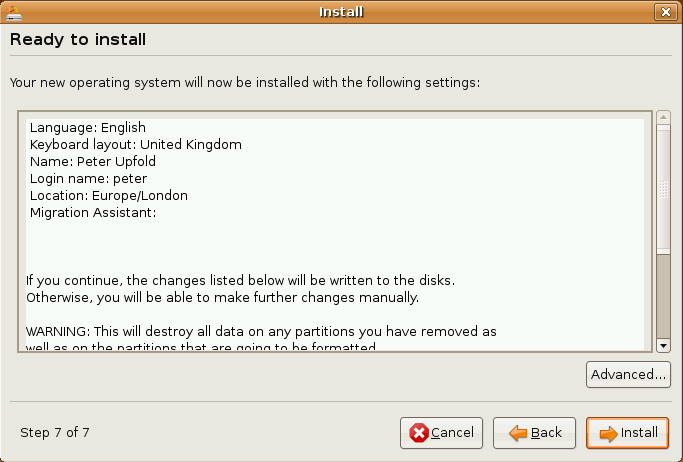
This is it - you'll get a final review of your settings before the Install gets underway. Click Install and now let Ubuntu do its work!
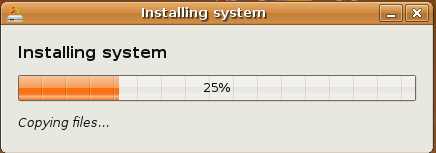
Once the install finishes, click Restart Now to restart your PC.

The Boot Menu
Your dual boot system is now installed and working. Windows and Ubuntu co-exist peacefully on the same machine and you can switch between them at start up.
Let's take a quick look at how that switching happens.
As your computer restarts, watch and wait until you see a menu like this:
Each entry here represents a choice you can make to boot your computer with. By default, the top Ubuntu entry is the one you want to use (ignore the other recovery mode options).
If you don't use the arrow keys and press enter to make a choice within a few seconds, Ubuntu gets launched automatically. Whenever you want to start Windows, press the down key until Windows is highlighted, then press Enter.
Quick note - the first time you relaunch Windows after resizing it, it will want to do another disk check. Don't worry, this is normal - so just let it complete the check!
And that's it. Your Ubuntu/Windows dual boot setup is complete!
The following licence covers this post and the accompanying PDF and ODT versions.
Based on a work at fosswire.com.

