Welcome back! In Part 1 of this tutorial, I looked at installing the tools you need to get your own web server up and running on Ubuntu.
We now have a working web server, but there are a few neat things you can do and we need to put some content on our default website too!. First of all, if you hadn't already worked it out, you can browse to your website by pointing your browser at http://localhost/.
By default, you won't see much on the homepage of your site.
Changing your homepage and adding content
Your website information is stored in /var/www - that is where you need to place the files for your website. Out of the box, you won't have write permission to this folder, so first of all we need to change that by changing the ownership of the folder to your user.
At a terminal, do the following (replacing yourusername with your login name):
$ sudo chown -R yourusername /var/www
Now, you can open up a file manager (from Places > Home Folder) and then navigate to /var/www. Simply place your HTML or PHP files in this folder and they will work as your website.
Testing that PHP is working
To make sure that your PHP installation is configured properly, you may want to run a quick test. Create a blank text file, call it phpinfo.php, and put this in the file. If you now save that file and view it in your browser, you should see a page looking something like this:
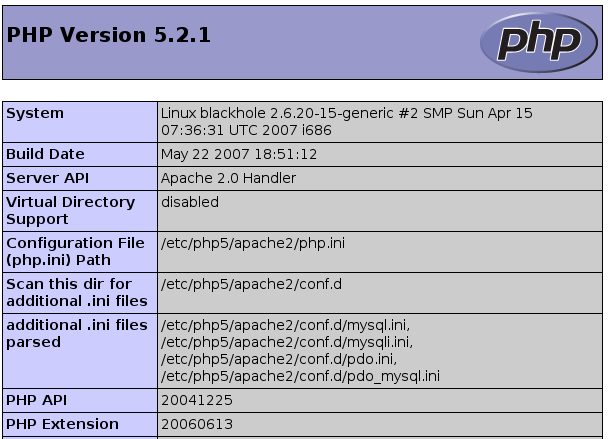
This means that your PHP installation is working properly.
Installing PHPMyAdmin
One of the easiest ways to manage your new MySQL database server is to use the graphical tool PHPMyAdmin. Now you can grab the source code and drop it inside a folder in /var/www, but there's actually an even easier way.
Simply go to your terminal again and enter the following command:
$ sudo apt-get install phpmyadmin
Now just point your browser at http://localhost/phpmyadmin/. Simple as that.
Installing web applications (WordPress)
One thing you might want to do with your server is install a web application onto it. In this example, I'm going to briefly show you how to install WordPress, one of the most popular blogging software tools (which we use here at FOSSwire). These steps can be adapted for most applications though. We can use the old apt-get trick here, but I'm not going to, as you might want to know the traditional way to install an application.
First of all, let's create a MySQL database for our WordPress installation. Head over to your new PHPMyAdmin installation, login with the username root and your MySQL root password that you set in Part 1.
Type wordpress in the create database box and click Create. When that finishes, click the SQL tab and type in the following:
GRANT ALL ON wordpress.* to wordpress@localhost IDENTIFIED BY 'newwordpresspassword';
Replacing the password with a new password that WordPress will use to connect to its database (make it a separate password from the root user's). Now download the .tar.gz WordPress package from wordpress.org (I'm using version 2.2 for this tutorial).
Once you've downloaded the package, right-click it and choose Extract Here to extract the archive. Now move the contents of the wordpress folder to the desired folder (I want my WordPress installation to be in a subdirectory called /blog on my web server, so I'm copying the files to /var/www/blog).
Open up the wp-config-sample.php file in your WordPress directory and change the following lines:
[php]define('DB_NAME', 'wordpress'); // The name of the database
define('DB_USER', 'wordpress'); // Your MySQL username
define('DB_PASSWORD', 'yourwordpressdatabasepassword'); // ...and password
define('DB_HOST', 'localhost'); // 99% chance you won't need to change this value[/php]
Substituting in your password, obviously. Save that file, then rename it to wp-config.php.
Now browse to your new blog URL (in my case http://localhost/blog). From there, follow WordPress's easy install interface to set up your blog!
Finishing up
So we now know that our PHP is working properly, we have PHPMyAdmin set up and running and we've managed to install WordPress manually from the download on the site. Your LAMP installation is now officially up and running.
Of course, there's plenty more you can do and loads of PHP and MySQL based applications you can now download, install and give a try. If you're the developing type, you now have everything you need to start developing your PHP and MySQL based applications!
